
Graphics vs. wraps: A guide for designers and installers
Vehicle graphics and full vehicle wraps are often treated as interchangeable solutions, but shop experience tells a different story. Each approach brings its own demands in the installer’s skill level, design decisions, installation, material performance, and pricing.
Graphics vs. full wraps
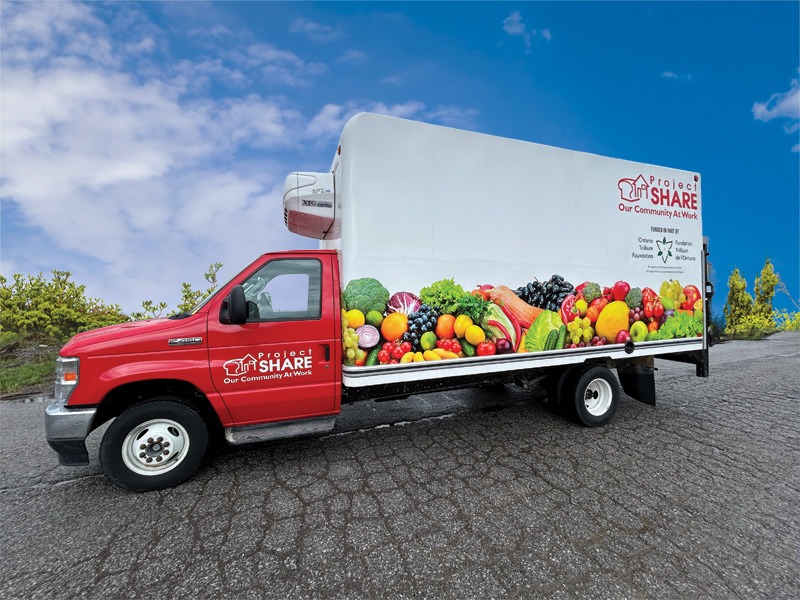
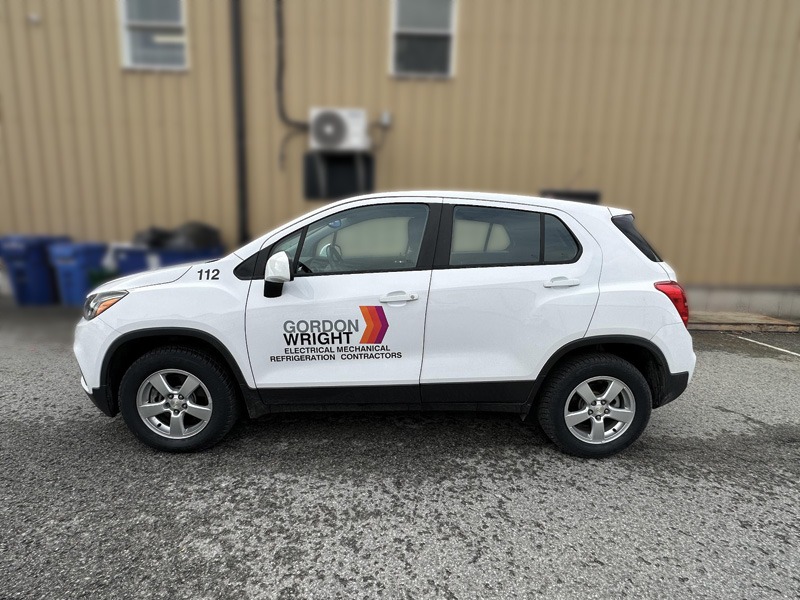
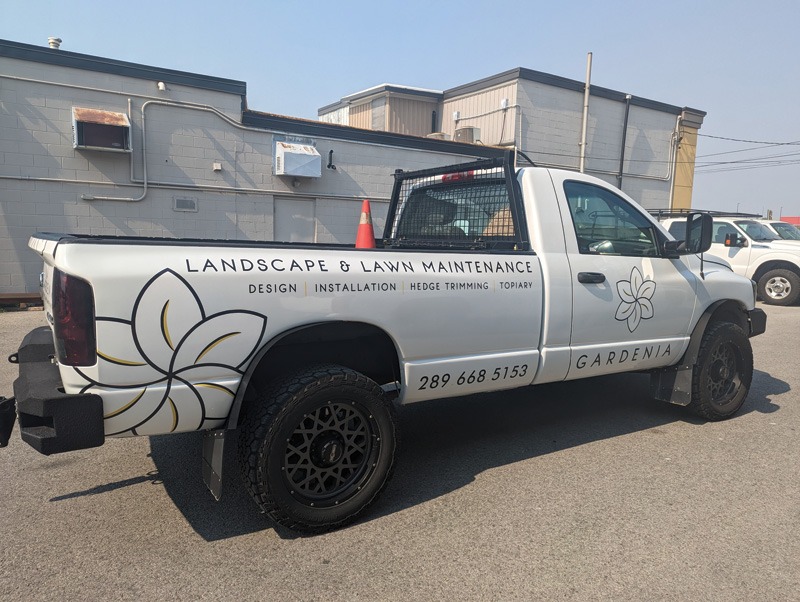
Vehicle graphics typically include cut vinyl lettering or logos strategically placed on a vehicle to create a cohesive design. Partial printed wraps are also included, as they do not cover the entire vehicle and leave the original colour visible. Depending on the placement and complexity of the graphics, a skilled installer may be necessary. Full vehicle wraps involve printed graphics or coloured wrap films that cover the entire vehicle. These installations demand a highly skilled installer, as they require meticulous attention to detail and the ability to shape the material to fit complex curves and recesses.
Skills from the shop floor
When discussing vehicle graphics with someone outside the industry, a common line is “so it’s just a giant sticker?” Technically, they are correct, but those who work in the industry know there is much more that goes into turning that “giant sticker” into a successful installation.
As a professional, you are required to know surface details to prep and work around problem areas properly, how to manipulate your design to hide these areas best, proper graphic alignment, the best application methods, and how to save and fix mistakes.
When it comes to full wraps, the install requires even more skill. You need to know detailed surface preparation, how to control and manage material stretch, heat management, panelling, trimming, an understanding of film properties, and finishing details. An excellent graphics installer may not make a good wrap installer, and vice versa.
Design considerations and coverage
Part of being a great designer and installer is knowing how to manipulate your design to hide problem areas. You have to account for so many variables when designing vehicle graphics or a full wrap.
The body lines of vehicles are a major obstacle when it comes to vehicle graphics. Trying to make a line of text look straight, right above or below a body line that slightly angles up, is nearly impossible. A great designer will know how to avoid these areas when designing the graphics, and a great installer will know how to properly level that graphic if they can’t make changes to the design.
A great designer will also know how to design around gas caps, body seams, sensors, curves, recesses, and so on. The installer will know how to apply the graphics around or over these areas without damaging the vehicle or the graphics.
There are many design decisions an installer will also have to make themselves. Placing seams is a major design decision that professional installers have to make. They know how to use the body lines to make seams unseen to the untrained eye.
A designer who lacks shop experience can cause issues for the installer if they don’t understand the elements of a vehicle in real life versus what they see flat on their screen. This is why designers and installers need to collaborate when planning vehicle graphics.
Installation and margins
Standard vehicle graphics are typically faster to install, cost less, leave less room for error, and don’t require extensive finishing. They are also manageable and not overly costly to correct if mistakes occur, such as replacing the graphics.
Full wraps are significantly more time-consuming and require extensive planning. They also carry a higher risk of financial loss. Wrap material usually comes at a hefty cost. If you are also printing on the wrap material, you must factor in machine usage, laminate, and design time. Making a major mistake and having to replace a panel during a full vehicle wrap can be costly if you aren’t initially pricing your wraps accurately. Factoring in the accurate time it takes your installer (depending on their skills and abilities) is crucial when deciding on the cost of the wrap.
Material selection, performance, and cost
When choosing materials, it’s important to ask your client about the purpose of the installation. If it’s a promotional or temporary installation, they will likely want to go with a calendared material to save on cost. Good removability is also essential to consider for future removal. This helps save the client money on removal time and spares the person doing the removal any hassle or headache.
Every installer has preferences for the materials and brands they are comfortable using. The brand doesn’t necessarily matter as long as you have experience installing the material and know its limits and lifespan.
Ultimately, choosing the right material for the job is essential. With extensive experience in both graphics and wraps, you learn which materials perform best. While the brand name isn’t everything, shop experience will quickly teach you that cutting corners can end up costing you a lot more money later.
Pricing, hidden costs, and extras
Choosing the right material isn’t the only cost you need to consider. There are many hidden costs that go into vehicle graphics and wrap jobs. You must account for design time and proofing. Clients may go back and forth with revision after revision. This can be incredibly time-consuming if you have a very particular client. You should have a set number of revisions factored into your cost, and anything beyond that is at the client’s expense.
Materials used for vehicle prep, such as rags, cleaning solutions, and removers, are all costs to consider. The right tools can also significantly reduce your wrap time, but some of these tools can be expensive. Tucking tools, tapes, and knife blades are items that have to be replaced often, and that cost should be factored in.
Last, a major cost that can come back to you is any damage you may have accidentally caused to the vehicle. Taking before photos is extremely important as an installer. This helps avoid the client coming back and asking about a dent in their bumper when you don’t know how it got there. You should also avoid anything abrasive or sharp knives toward the painted car surfaces at all costs. Knifeless tape will be your best friend in ensuring you avoid these costly mistakes.
Common mistakes and how to avoid them
The most frequent error in vehicle graphics is insufficient preparation before installation. Without a clear plan, what should take about an hour can extend to three hours, particularly with multi-coloured cut vinyl graphics. Proper registration for different sections and levelling the lines beforehand are crucial. This preparation significantly affects how long the installation will take.
This also rings true for full vehicle wraps. Prep is everything! Ensuring the client comes in with a clean vehicle is key. You also want to make sure you are already aware of any problem areas before the installation. Prepping the installation areas, tools, and supplies will also go a long way.
Though vehicle graphics and wraps fall under the same umbrella, they are far from the same solution. Each demands different levels of skill, planning, materials, and pricing strategies. For both types of installations, shop-floor experience is crucial to making the smartest and most cost-effective decisions.
Courtney Albanese runs the vinyl production department at Signature Sign & Image.
Sign up for our newsletter
Featuring breaking news from Canada's sign and graphics industry.
Products
Read the Latest Issue

