
Getting printers back to top form: Five steps to revive production

4. Test the printheads and clean as needed
Once the debris have been manually removed from the printheads, capping station, wipers, and other components as directed by the operations manual, it is time to test and prime the printheads for normal operation.
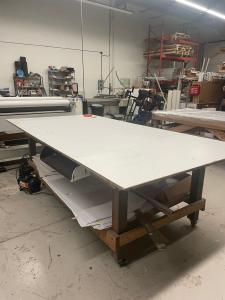
Load the media for a cleaning test print. This is a critical step and should be performed regularly to check the condition of the printhead nozzles. Ideally, every outlet should be open and firing, with no signs of deflection (when ink is misdirected by contaminants around the nozzle opening). Sometimes, however, the test will show missing nozzles, deflecting outlets and, in cases where the capping station is not properly aligned, a partial or complete printhead failure to fire.
Should the cleaning test show any missing or deflecting nozzles, start by performing a normal cleaning (refer to the operations manual) and print another test. Repeat this sequence with increasing levels of cleaning (i.e. medium or powerful cycles) until the nozzles are firing correctly. Note: If the printer has been inactive for a long period of time, one may need to perform medium or powerful cleaning for the nozzles to fire properly.
5. Print several known test images and review results
After the cleaning and printhead test is complete, one can print several known test images and check for consistency.
Modern liquid-ink devices use sophisticated methods to maintain print consistency, but long periods of downtime may require users to ‘exercise’ the equipment before it regains its former imaging stability.

Ideally, one should start by printing large, full-spectrum graphics that will require every printhead to fire simultaneously. This will begin the process of clearing older ink from the lines, head dampers, printheads, and cleaning systems. Each of these components has specific tolerances and is built to expect a certain ‘flow.’ When they are not being used as much, it may take several prints before all the units settle back into their respective tolerances.
This is a good time to carefully assess the output quality, as the print itself can usually help to diagnose any mechanical issues. For example, white stripe banding typically occurs when the media feed calibration is too high, which can be fixed by adjusting the setting to a lower value. If the printed image shows an irregular pattern or distortion, then the printhead carriage is probably set too high for the media and needs to be lowered. Colour banding is usually caused by missing print nozzles and requires additional cleaning of the outlets.
By following these tips, PSPs can bring their digital printing equipment back to top form and ensure superior output.

Bryan Ballreich is a studio production manager at Roland DGA and has more than 30 years of print production experience. For more information, visit www.rolanddga.com.
Sign up for our newsletter
Featuring breaking news from Canada's sign and graphics industry.
Related Products


Read the Latest Issue
